
All of my orchids eventually end up in water culture. To find out how to do that, check out my Starbuck series.
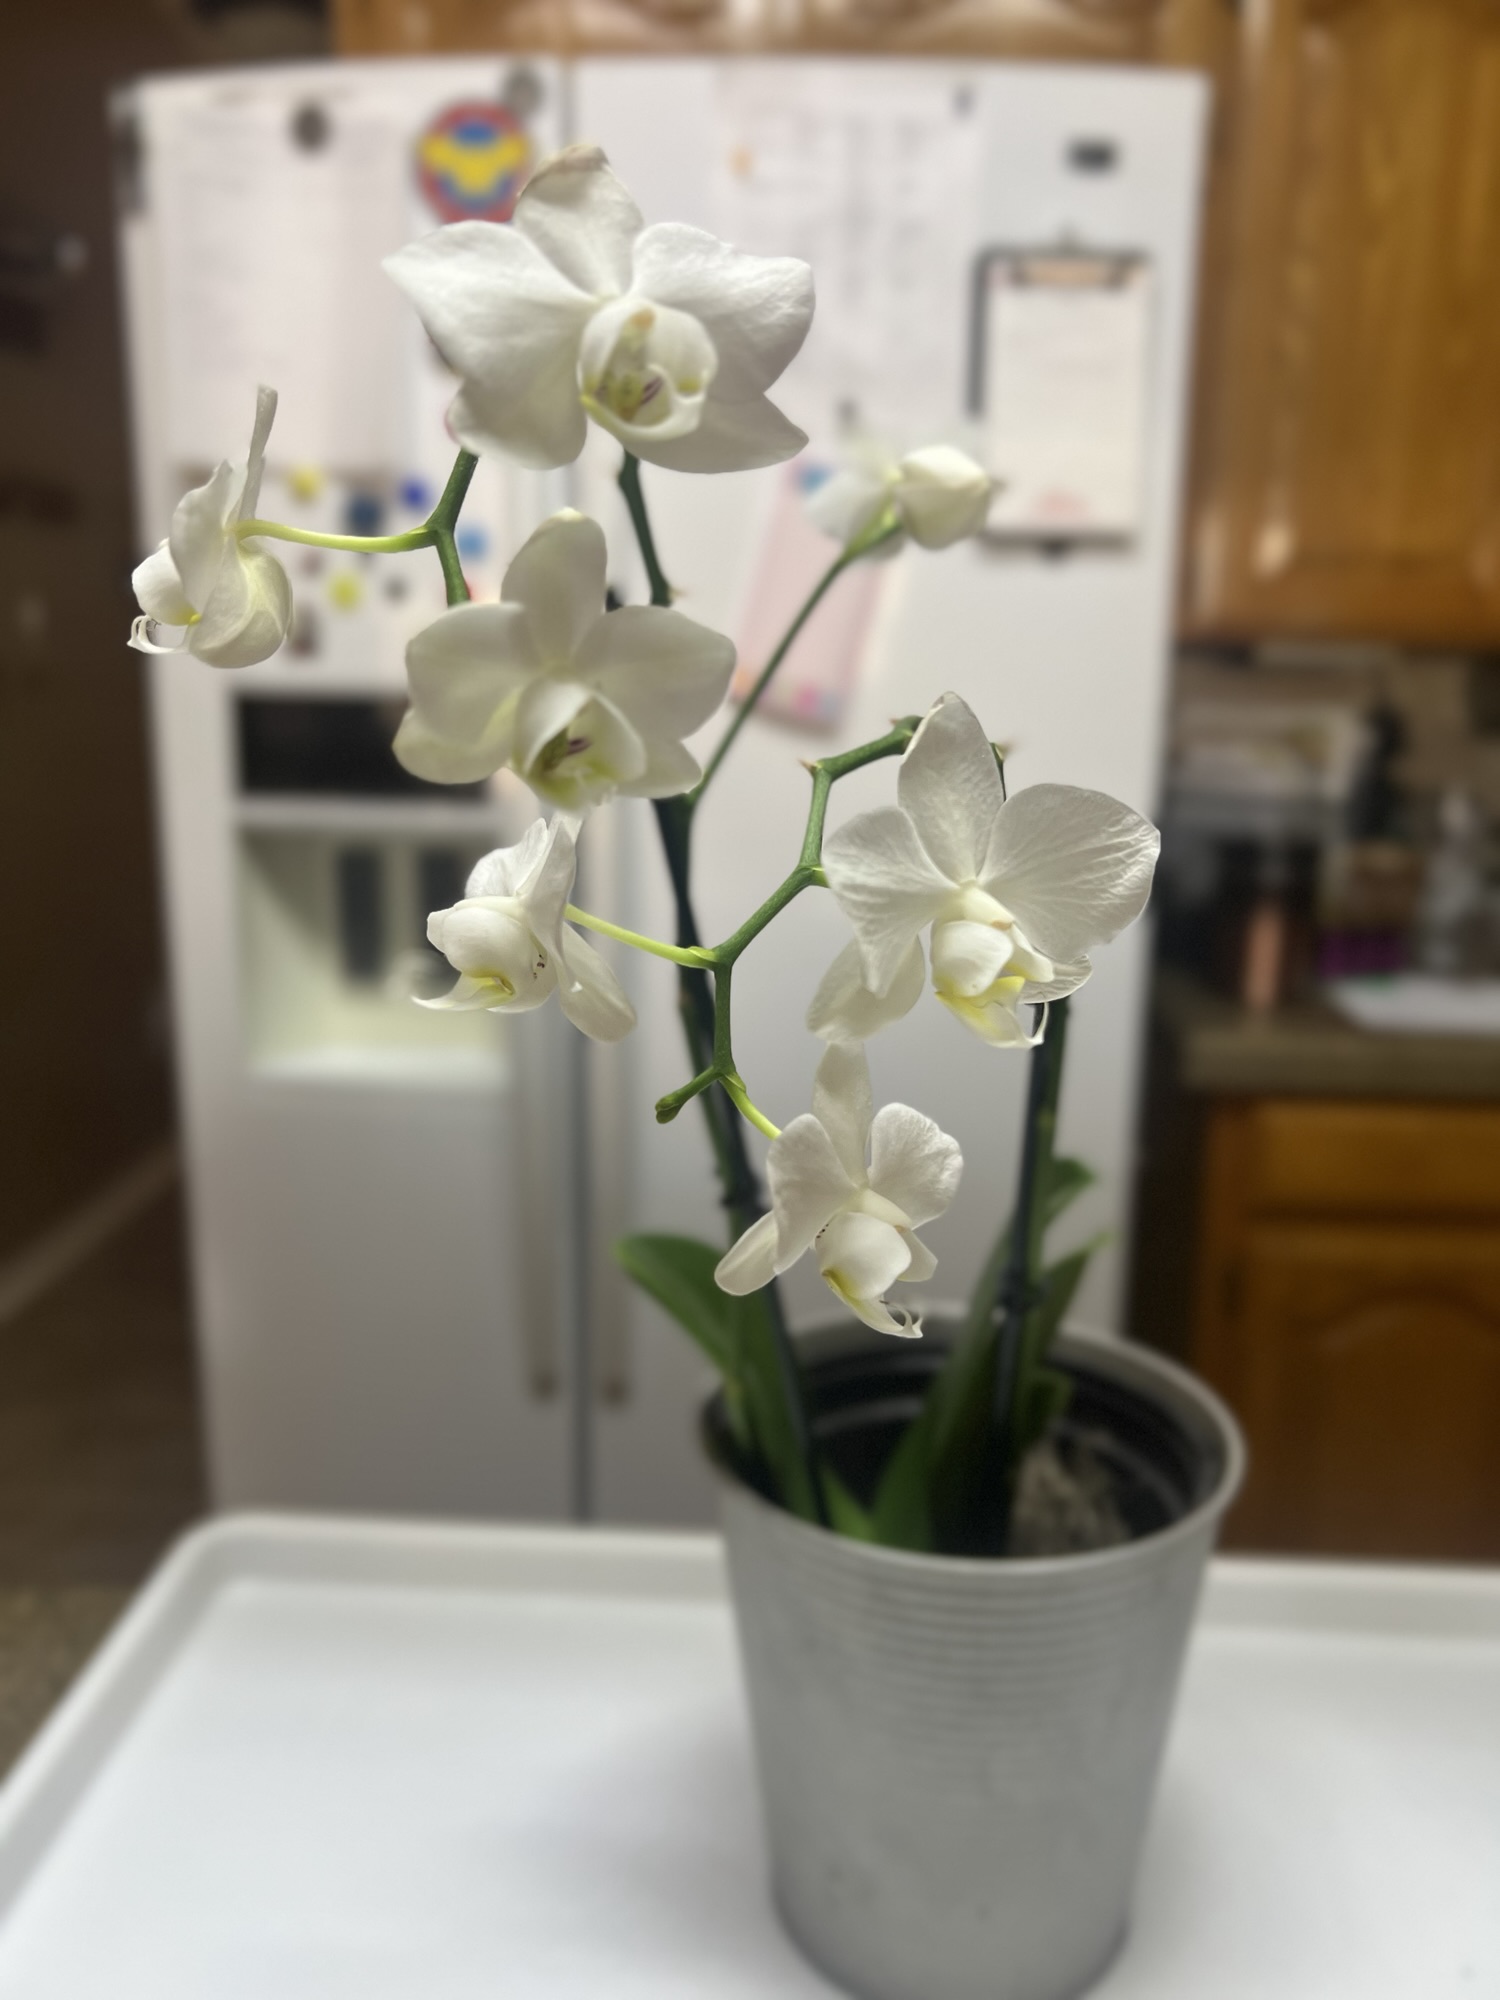
When a friend offered me an orchid (1) that she didn’t have room for, I gratefully accepted. Since this orchid came from a friend, I knew it was pest-free, so she only spent one day in quarantine. I then moved her to my orchid shelf where she stayed for a couple of days.
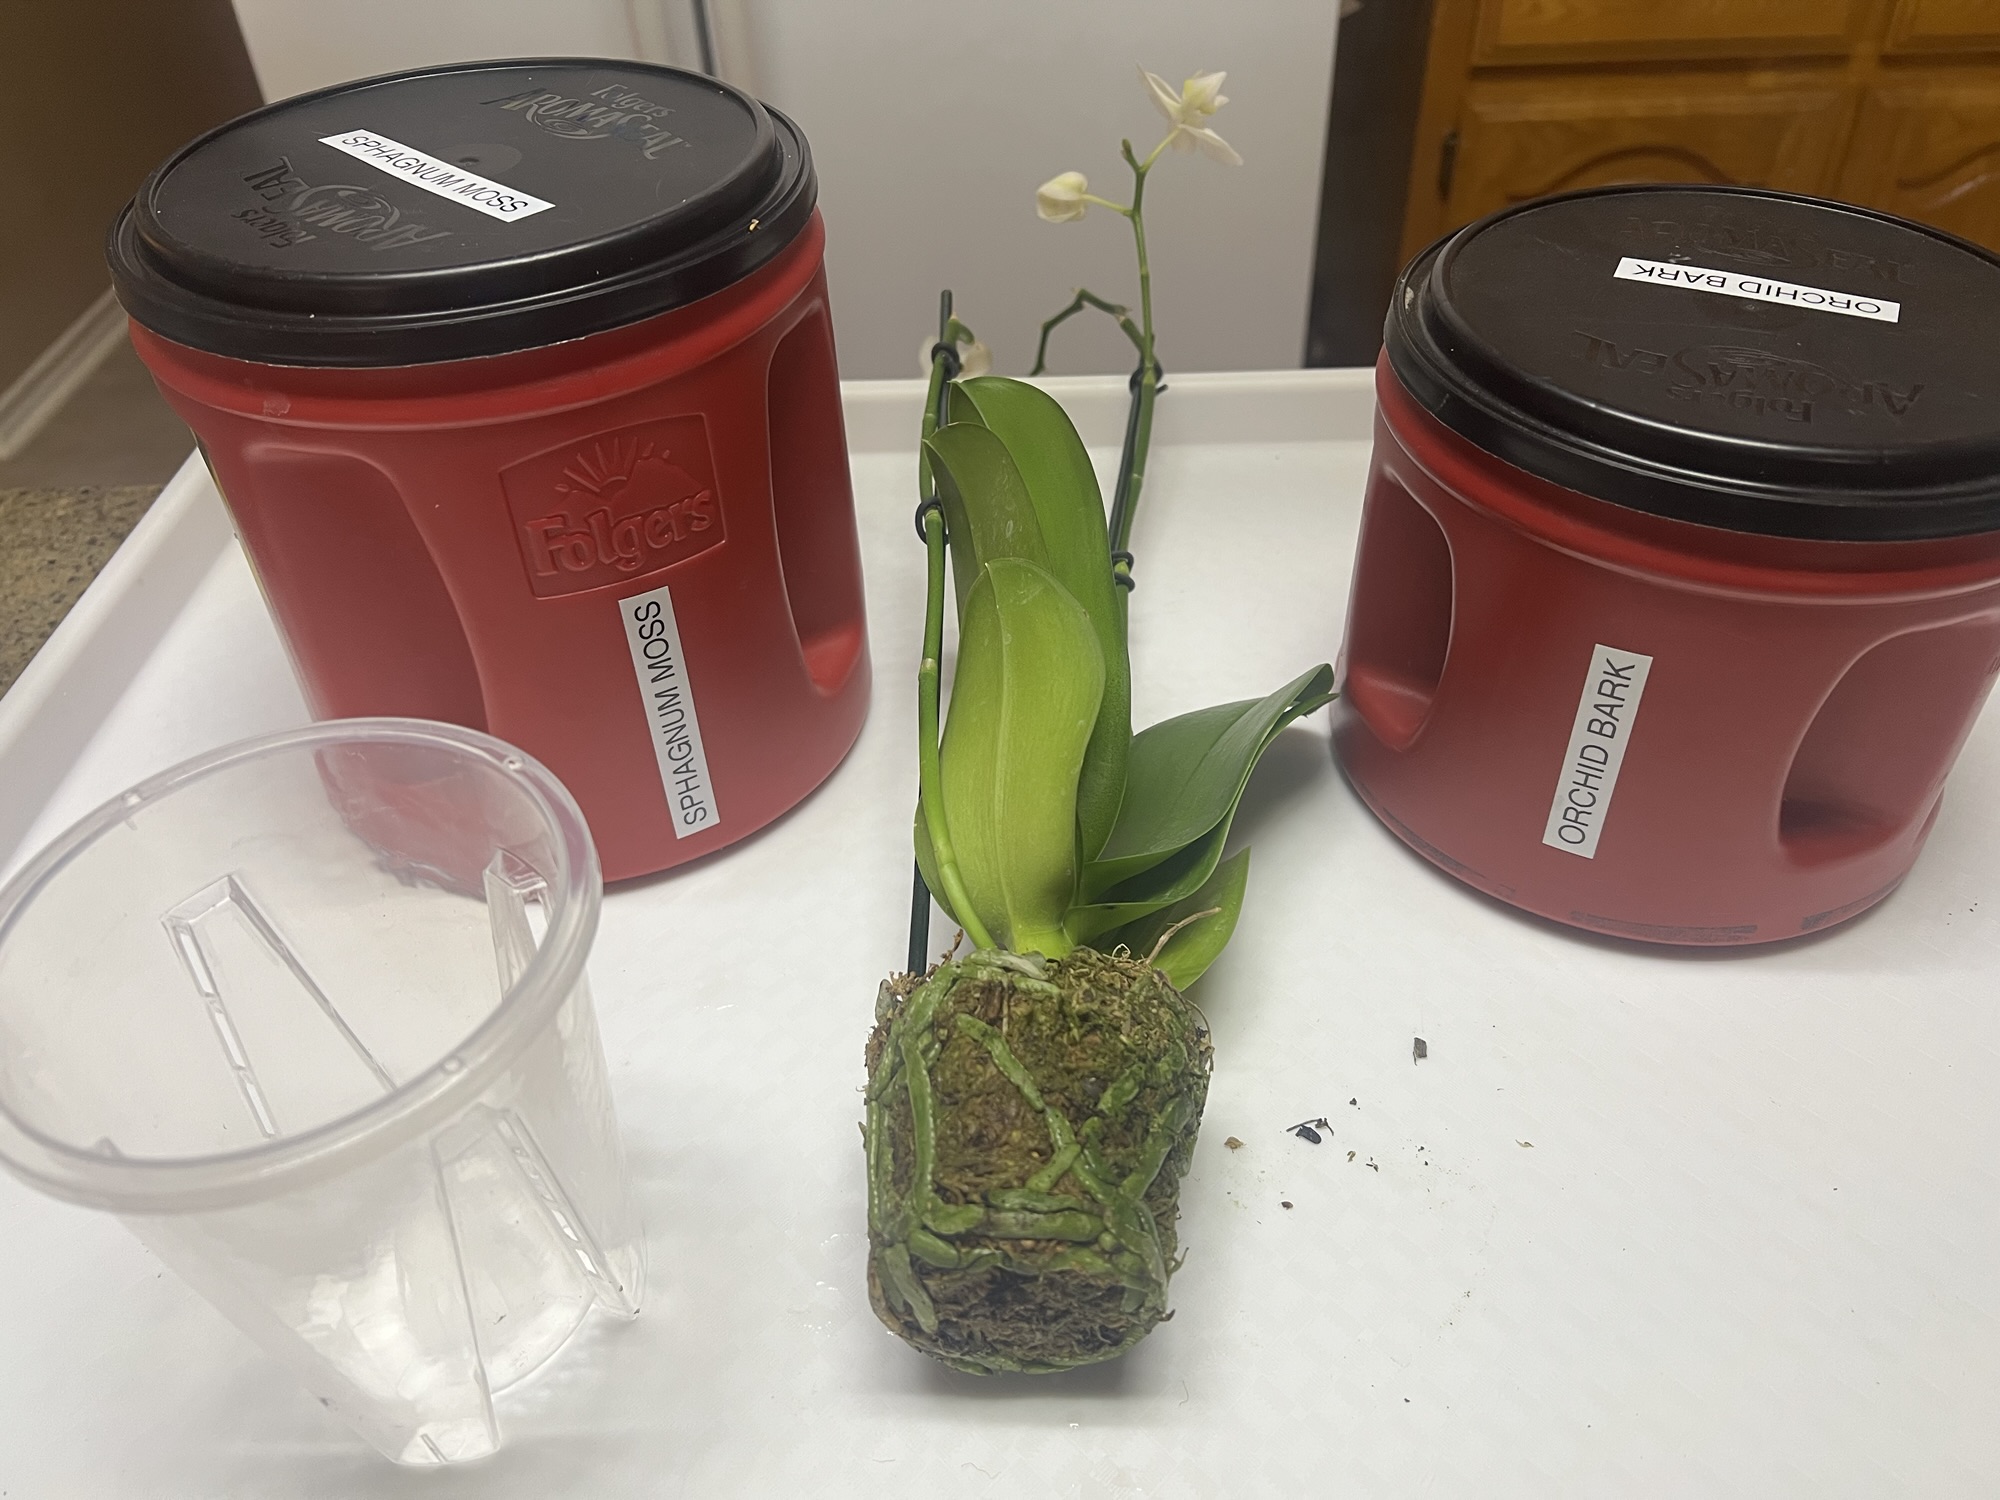
On day four, I decided to do a temporary re-pot. She will stay in this pot for about a month to acclimate to life in my house. To re-pot an orchid, you’ll need an orchid nursery pot and a larger pot with no drainage. Orchid pots have a lot of holes to allow lots of oxygen to reach the roots. You’ll also need orchid bark and sphagnum moss (2).
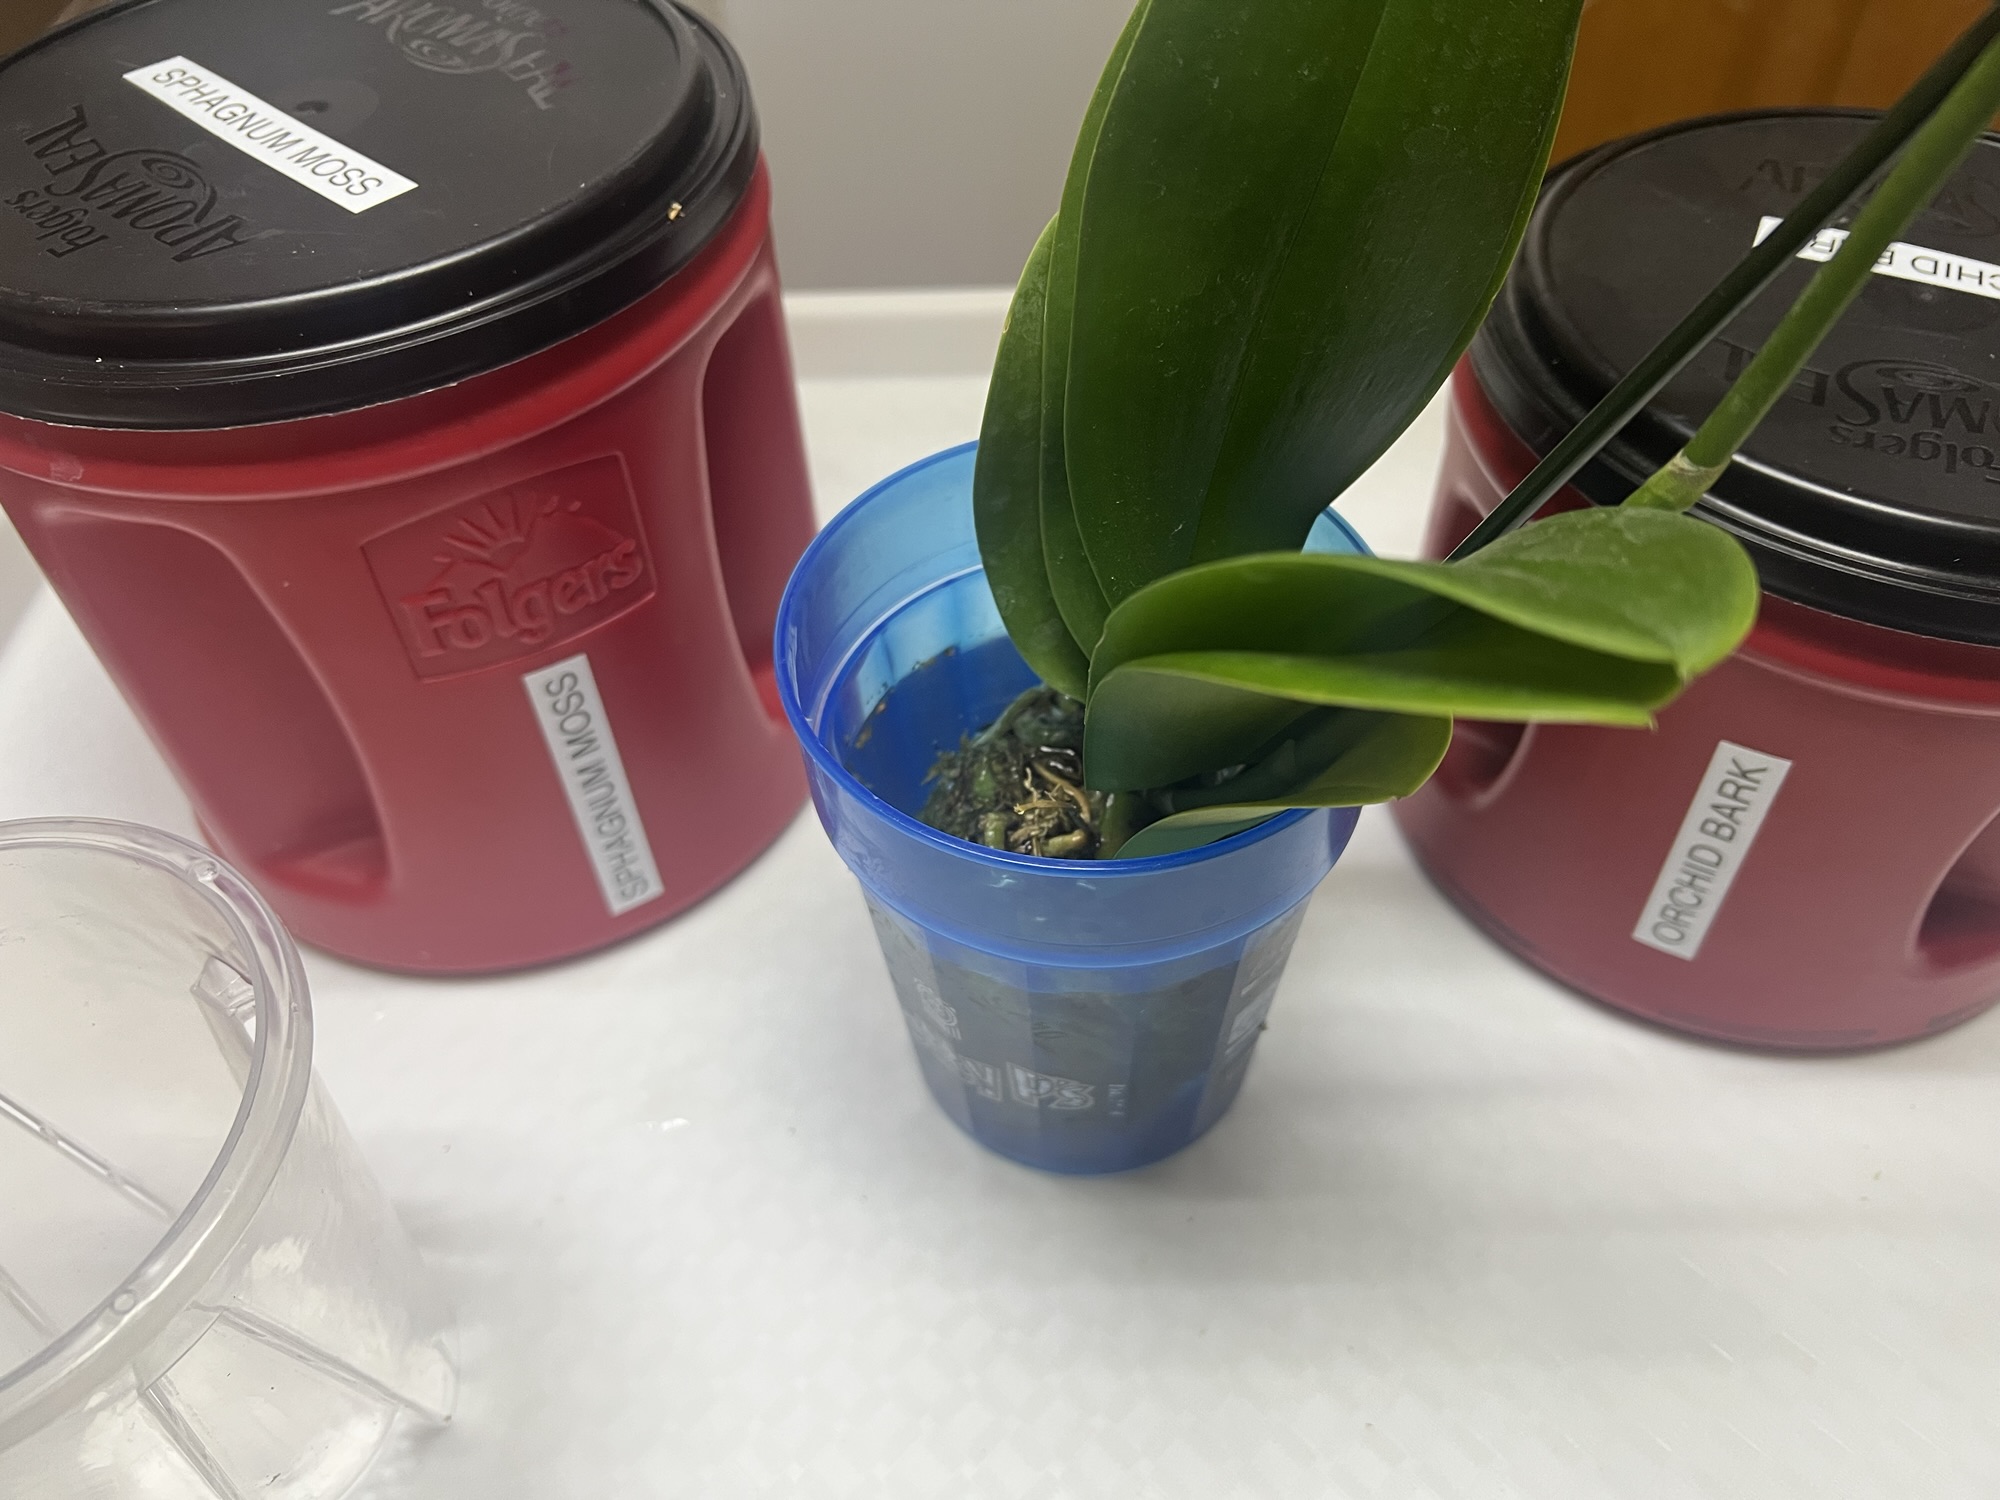
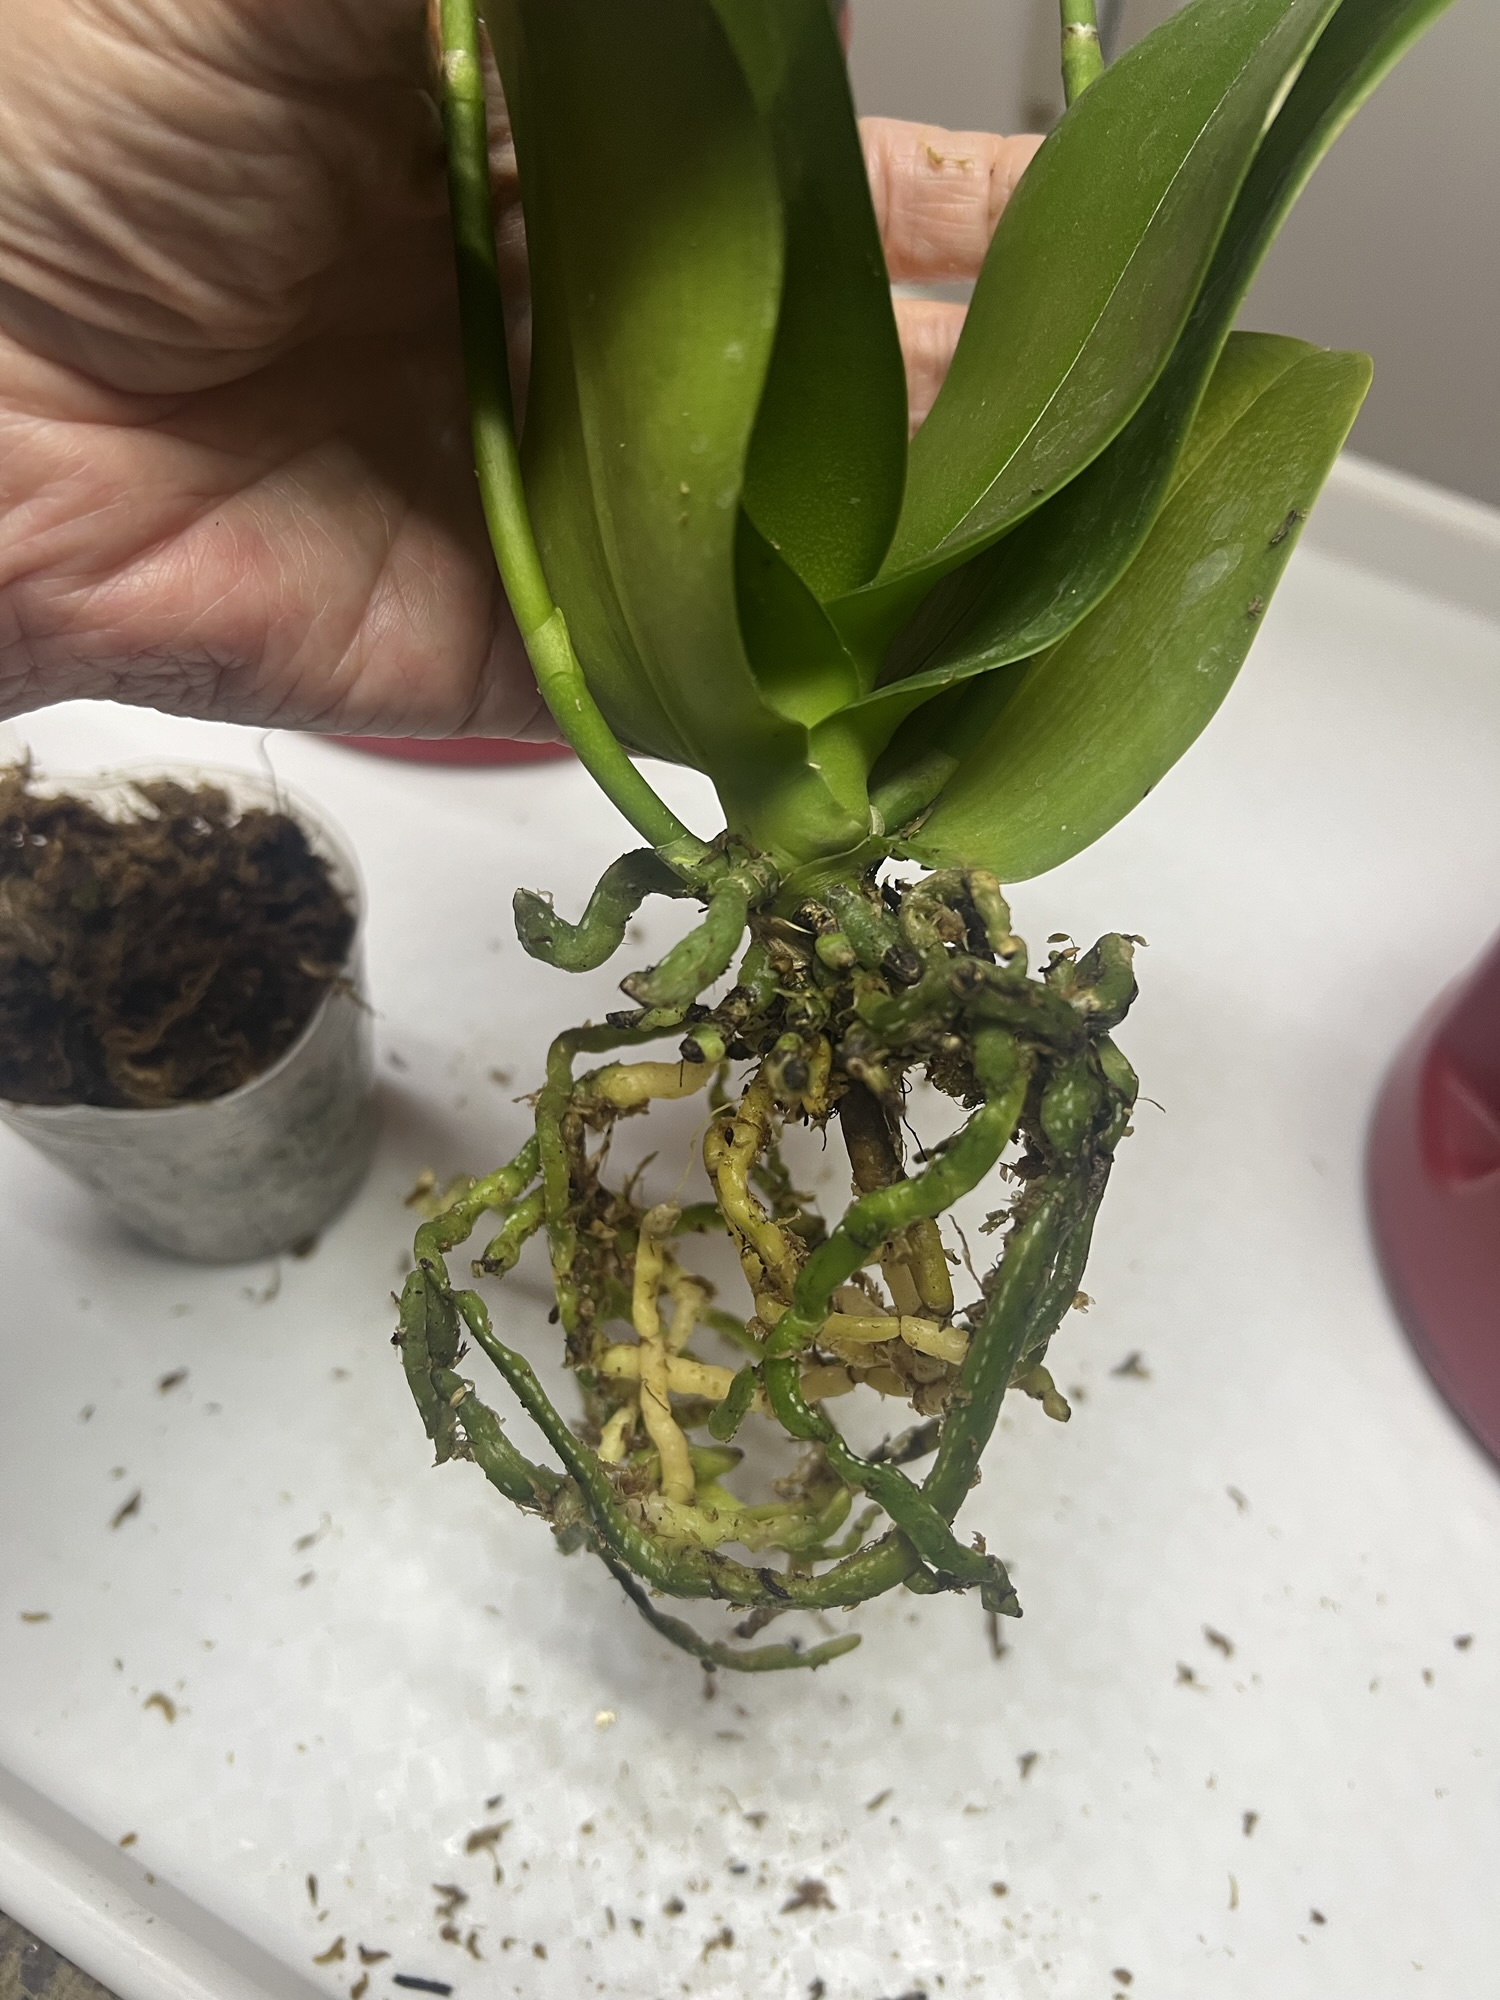
When the orchid is first removed from the pot it came in, the media will probably be tightly packed. To help remove that media, I soak the roots (3) in room temperature water for about 30 minutes. This allows the media to be pulled away from the roots with as little damage to the roots as possible.
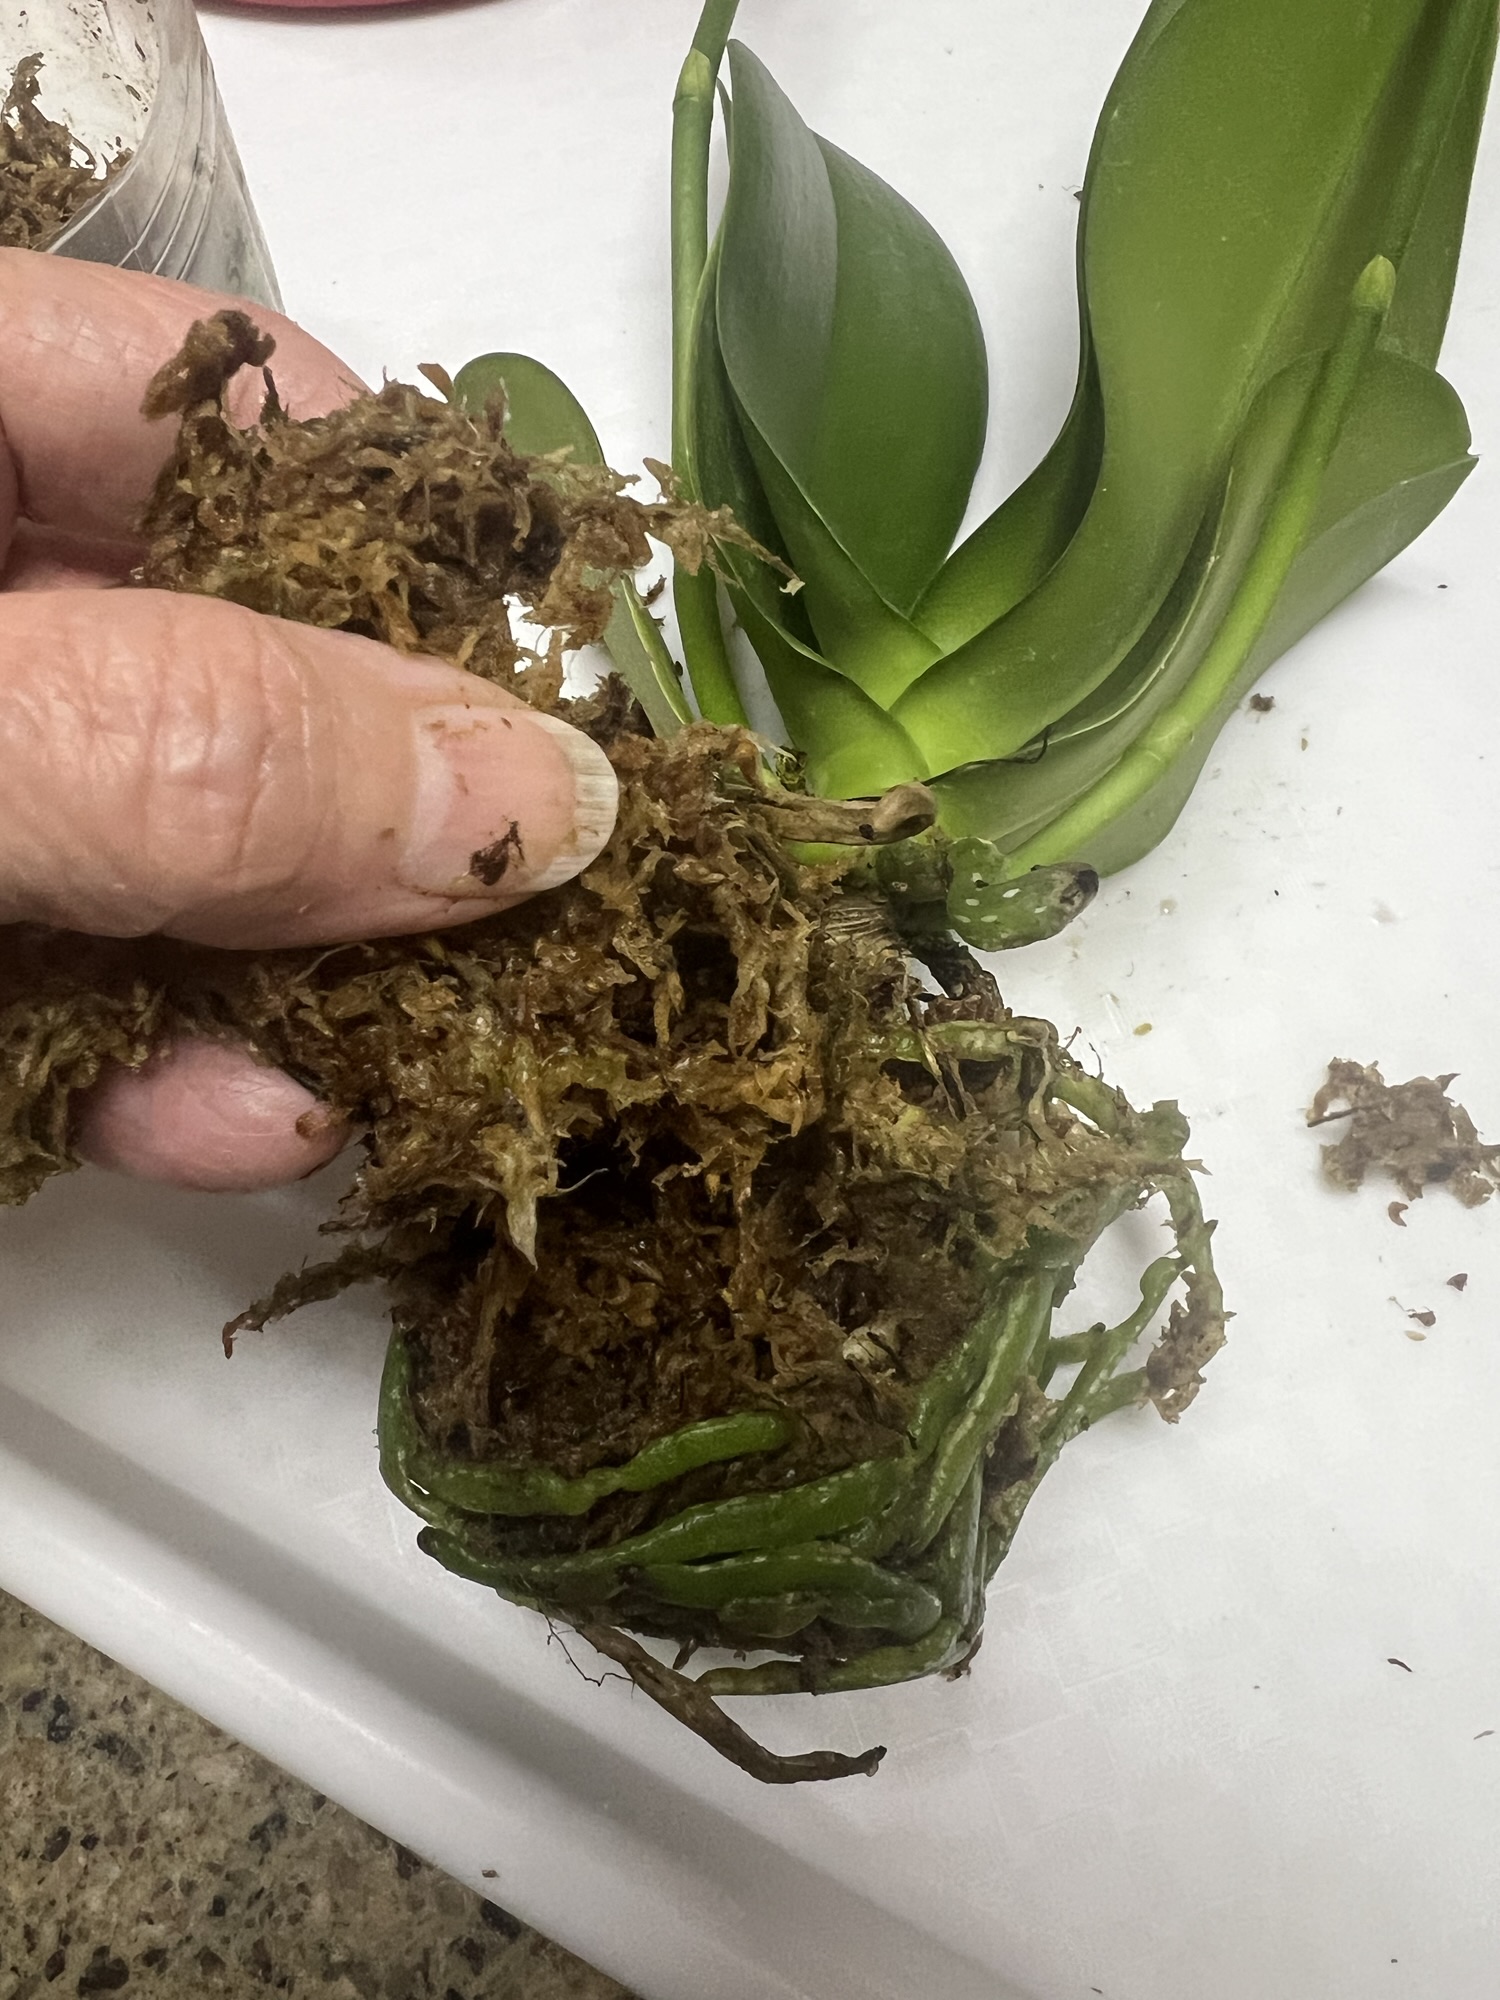
After soaking, it’s time to start pulling out the media (4). This particular orchid was in sphagnum moss. Removing the media is a slow process, but the roots will thank you for taking your time. Keep removing the media until the roots are as clean as you can get them (5). If the orchid is in sphagnum moss, it can be hard to remove all of the moss. Dunking the roots in water (6), or running under the faucet can help. You can even use a soft toothbrush to get into the nooks and crannies.
Since I know this orchid will be moved to water culture, it is important to remove all organic matter. Media that remains on the roots will decompose and cause water to become murky, so this cleaning step is important.
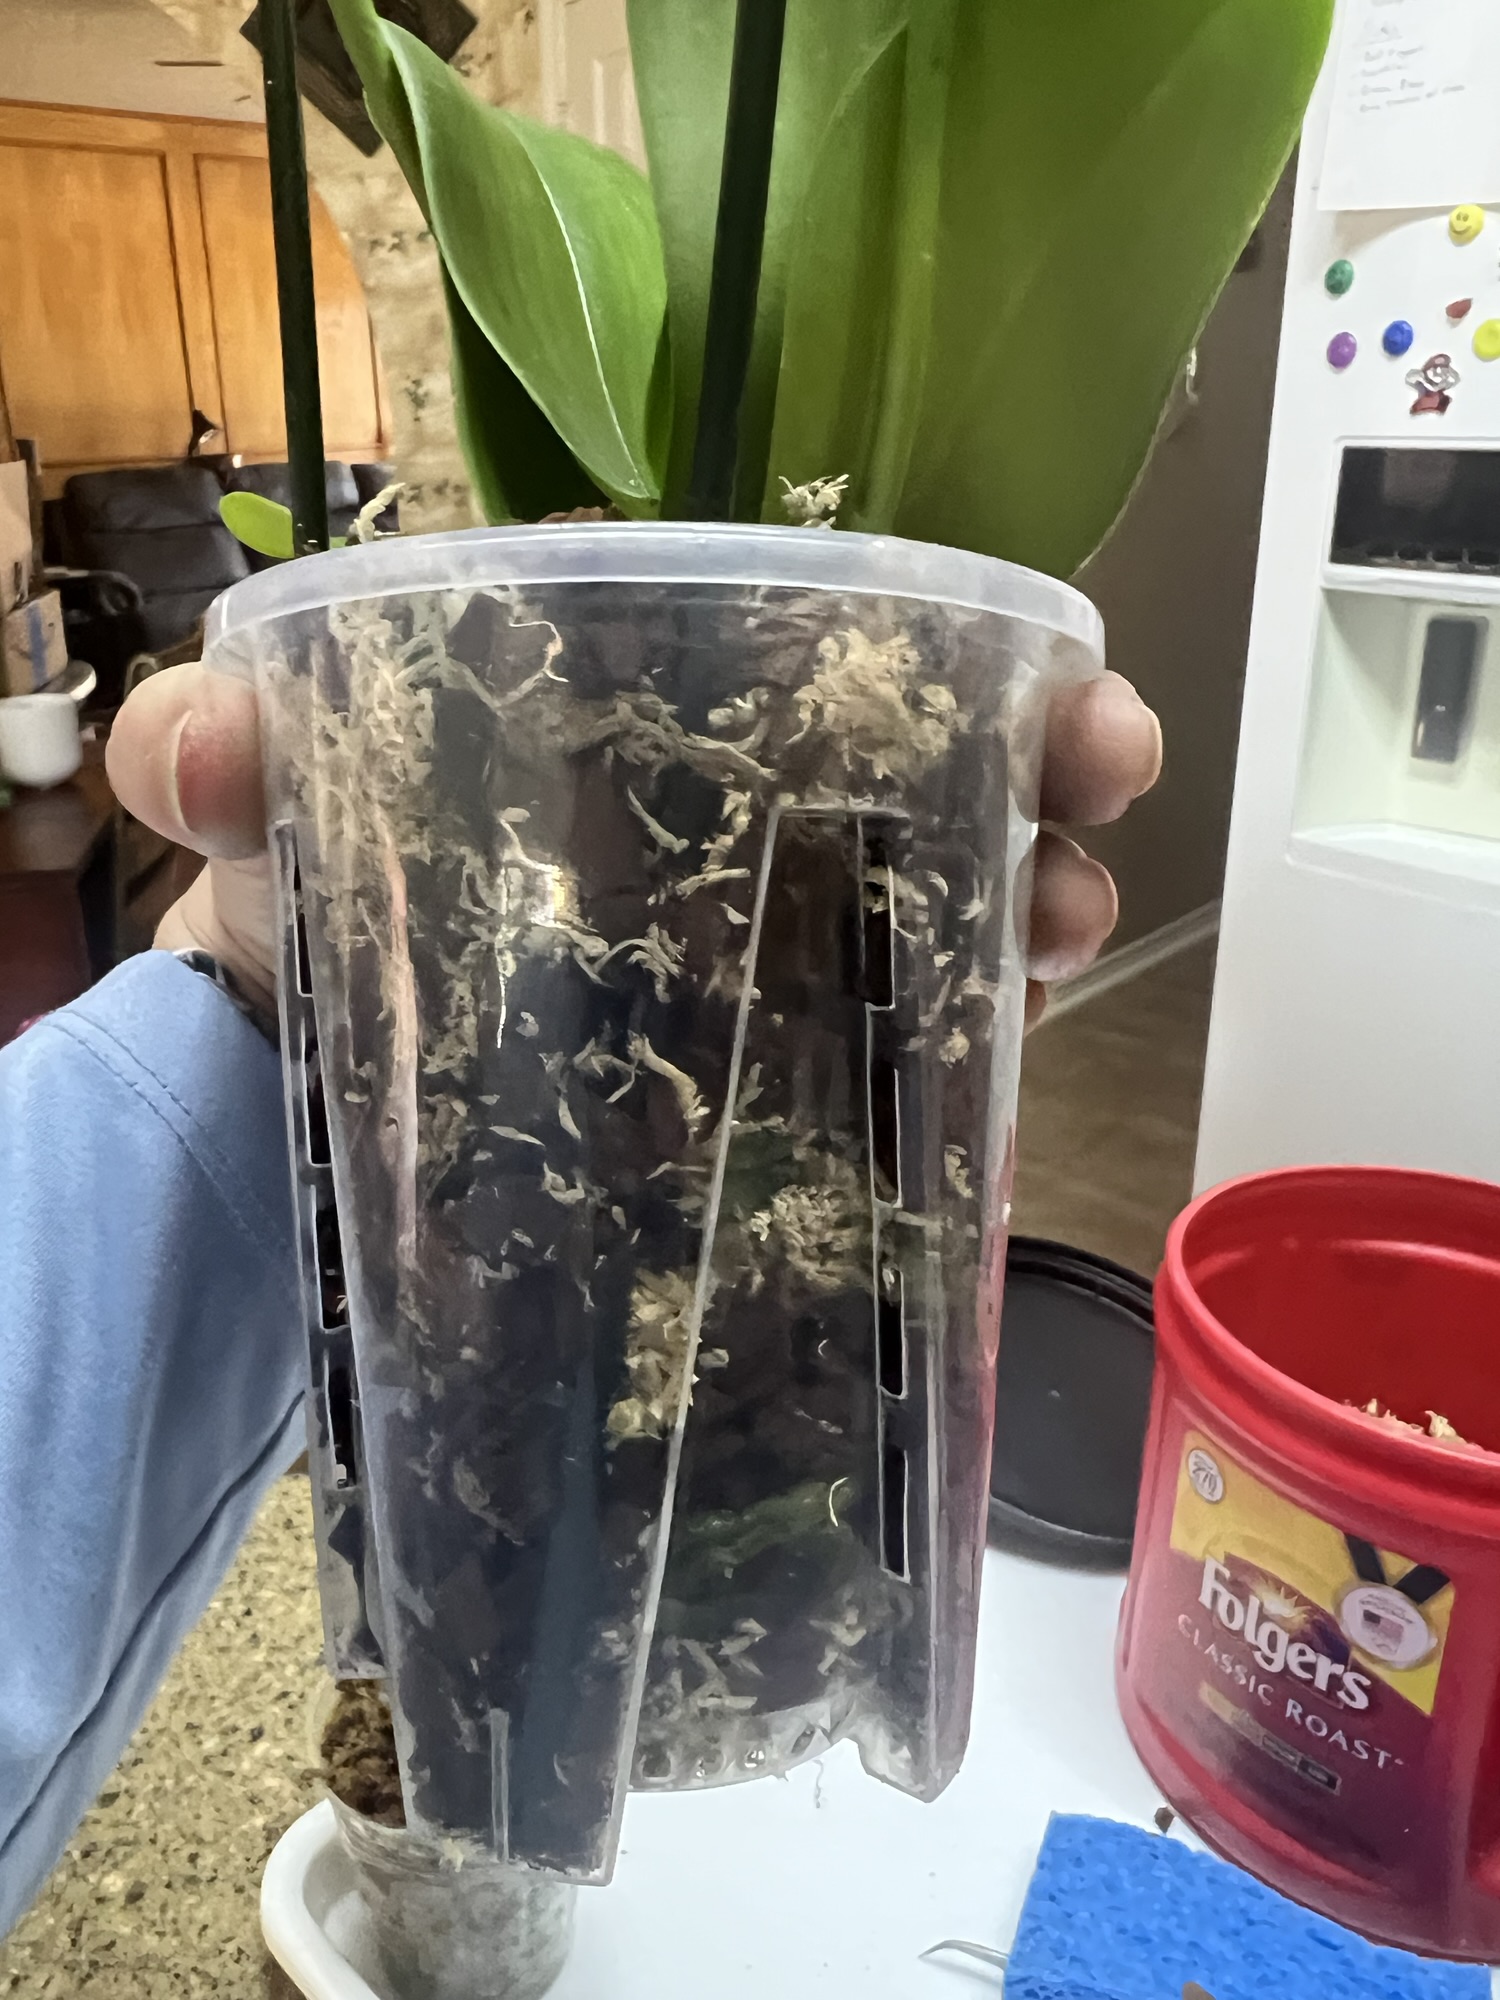
Once the roots are as clean, it’s time to put the orchid into the orchid pot. I use layers of sphagnum moss and orchid bark. The moss holds moisture and the bark allows oxygen to get to the roots. I start with a layer of moss, add bark, and keep layering around the roots (7). As you go, use a stake or skewer to jiggle the new media into the spaces in the roots. You can also tap the sides to get the media to fill in the gaps.
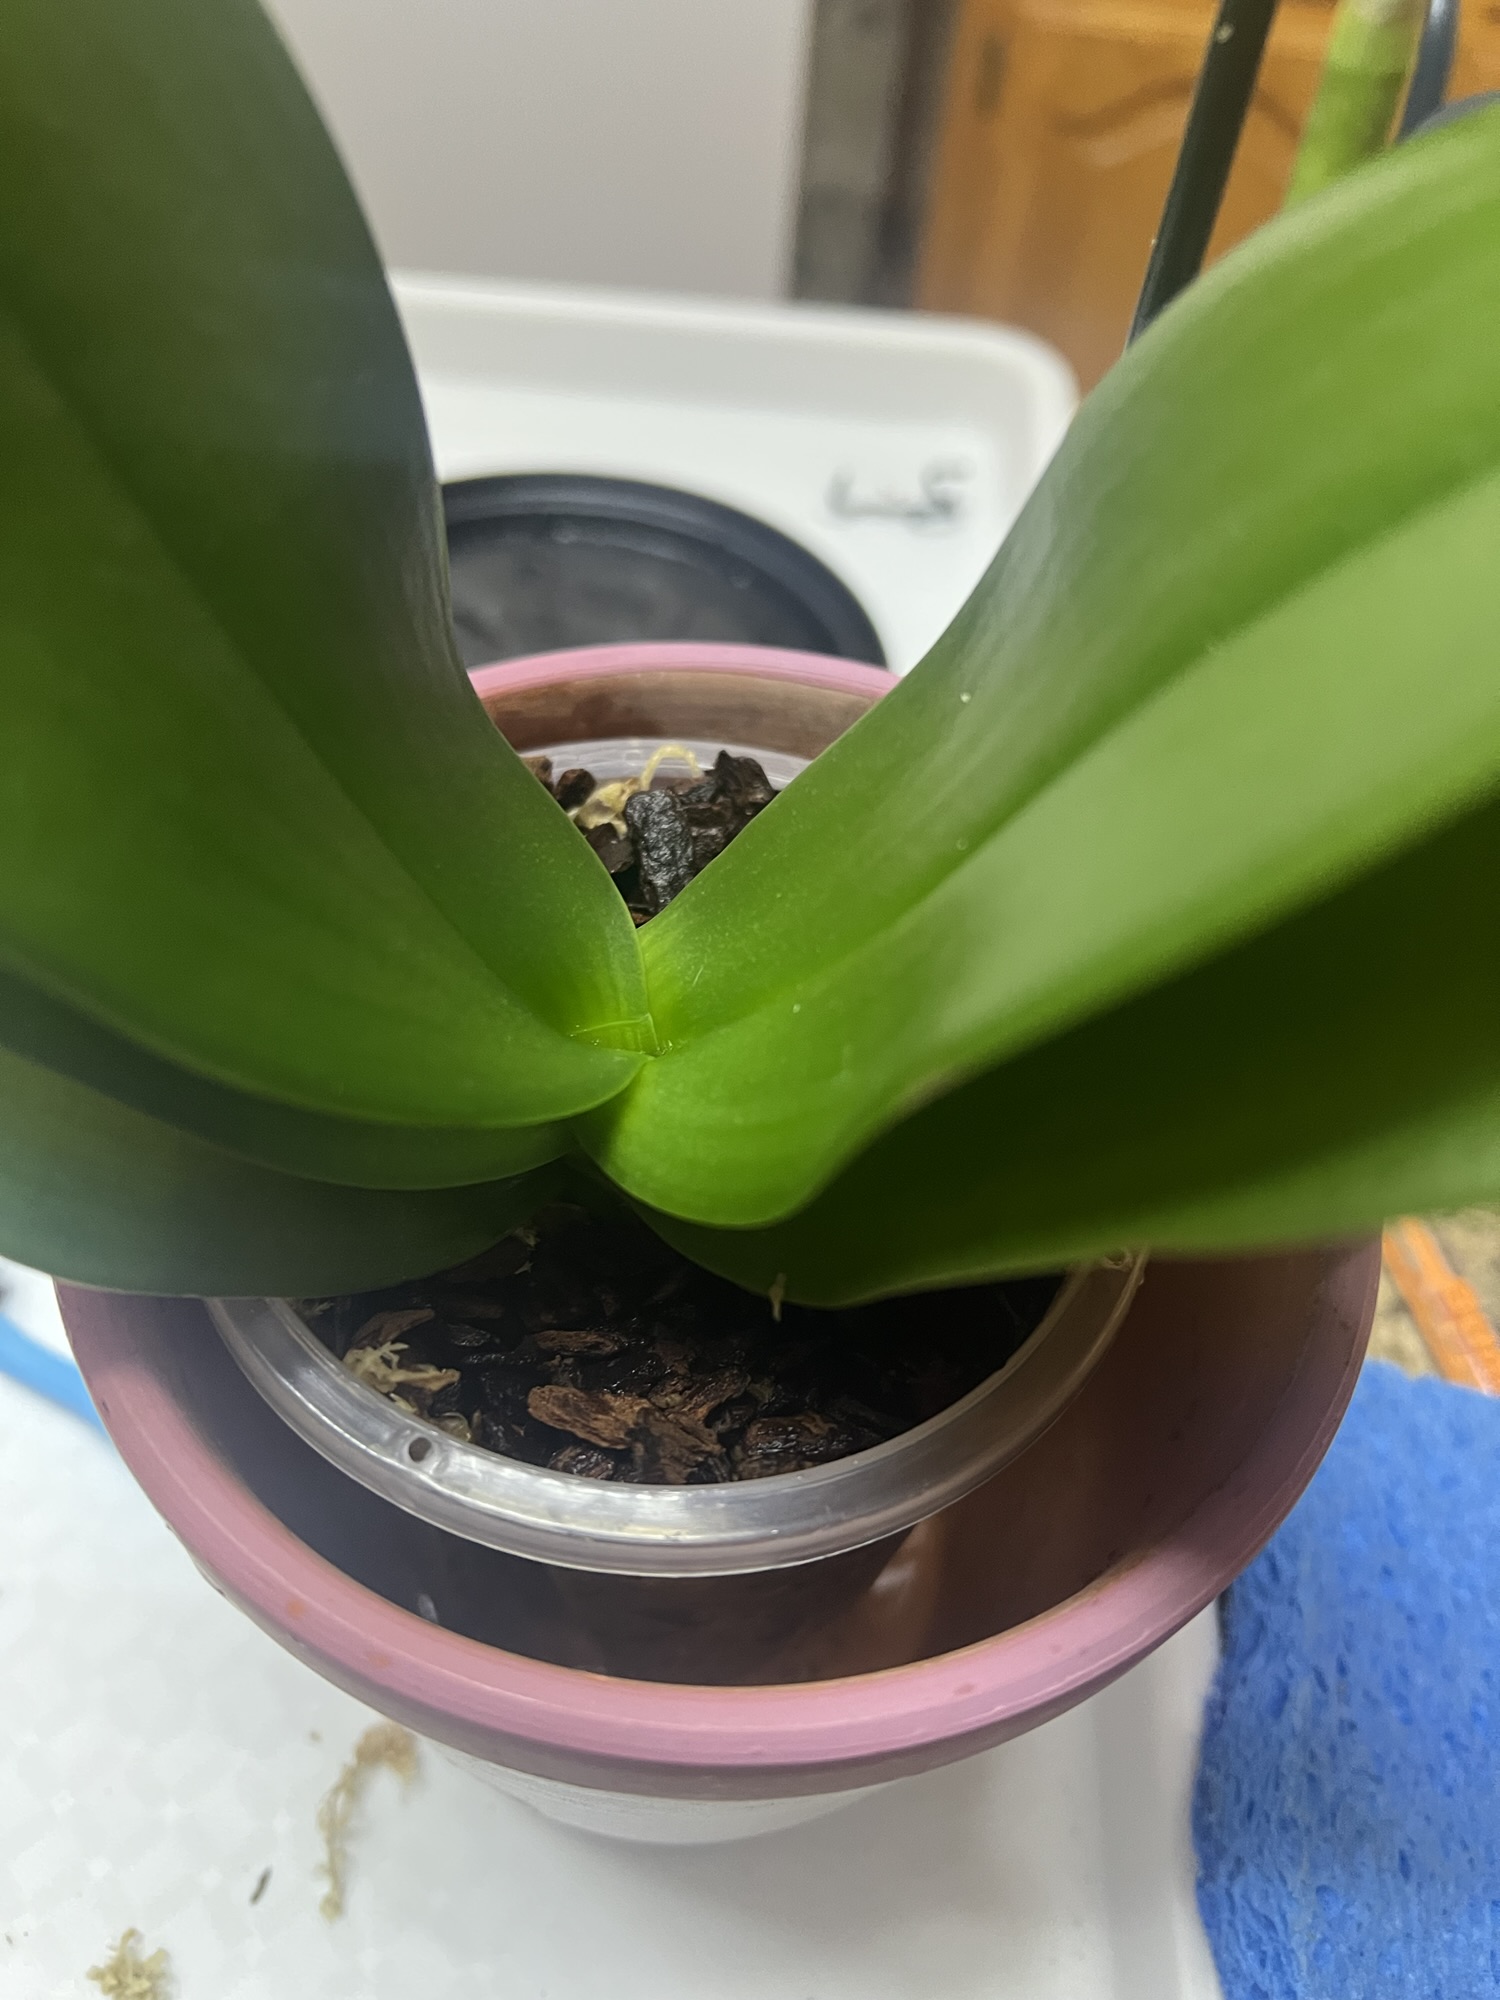
When the pot is full, the crown (where the leaves and stem meet) should be slightly above the top layer (8). Put the plastic orchid pot into the larger pot and fill it with water. You’ll want to let it soak 10-15 minutes so the moss and bark can hydrate. Dump out the water, and your orchid is ready to be displayed.
When choosing your orchid pot and outer pot, make sure that there is space on all sides (8). This will allow air to flow into the pot so the roots can get air.


Leave a comment